
Have you ever wondered how your favorite producers manage to get such realistic, expressive performances out of virtual instruments – where you almost forget you’re not hearing the real thing?
Over the years, I chased that exact question. And at some point in my journey, I realized there isn’t just one secret. There are several key elements that turn a basic, “MIDI‑ish” VI performance into something convincing, polished and emotionally believable.
I like to split them into two big categories:
theoretical (how instruments actually work) and practical (what you actually do in your DAW).
1. The theory: you have to know the instrument
This is the part most producers skip – and it’s the one that changes everything.
To get realistic results from a virtual instrument, you need at least a basic, real‑world understanding of the instrument you’re trying to emulate. That means:
- How it’s played
- What it can and can’t physically do
- Where its natural limitations and sweet spots are
If you want your strings, brass, woodwinds, guitars or even synths to feel believable, you have to think like the player, not just the programmer.
Understanding how an acoustic instrument behaves in real life is crucial if you want your virtual version to sound authentic.
And this doesn’t only apply to acoustic instruments.
Even with something like a Moog‑style synth, knowing how players actually perform with it – pitch bends, filter sweeps, legato phrasing, modwheel expression – will completely change how you program your MIDI.
2. Learning the instrument without actually playing it
Here’s the good news: you don’t need to be a trained violinist, sax player or guitarist to understand how those instruments behave.
If you’ve got some free time, start with this simple habit:
- Watch real performances on YouTube
Look up solo performances or masterclasses by specialist players. Just watch and listen:- How do they phrase lines?
- Where do they breathe or pause?
- How do they move between notes – slides, shifts, legato, staccato?
- What doesn’t happen? (That’s just as important.)
Even a short visual observation can give you a much better instinct for what’s natural and what sounds “MIDI fake.”
3. Use VST plugins that show you what’s happening
Some virtual instruments actually help you learn the instrument while you use them, thanks to built‑in visuals.
A few examples:
- Audio Modeling SWAM instruments
These often include visual feedback that reflects how the real instrument behaves – articulations, transitions and more. - Free Virtual Strings (Studio Instruments Strings / Cakewalk)
This one shows you which of the cello’s four strings is being used for a given note. That means when you glide between notes, you can immediately see whether that slide would be physically possible on a real cello. - Native Instruments Reaktor string-modeler libraries like Serenade, or free guitar VST plugins with chord/position displays.
These can show you realistic fingerings, chord shapes and playable ranges.
Tools like these train your ear and your eye at the same time. You start to internalize what’s physically possible, so your MIDI writing naturally becomes more realistic.
Practical Techniques That Instantly Improve Realism
The theory side is deep – and honestly, you can keep learning it forever. But there are also some quick, practical general rules you can start applying right away for more realistic performances.
Below are the major ones.
1. Keyboard Legato
Most producers know about scripted legato or pre-recorded legato phrases, but performance legato is an insider technique used by skilled keyboardists to create smooth, expressive transitions.
Legato simply means connected – a flowing sequence of notes rather than isolated jumps.
There are two types:
- Crescendo legato (moving upward)
- Decrescendo legato (moving downward)
Even a simple C–E–G melody becomes more expressive when played with proper keyboard legato. It adds:
- Tonal fluidity
- Musical intention
- Professional phrasing
- A more “played” feel
Try it yourself: instead of jumping straight from C to E, glide through the notes in between – play C → D → D# → E in one smooth motion. You’ll immediately hear how much more musical and connected the phrase feels compared to hitting the notes in isolation.
Used in the right harmonic context, keyboard legato can transform a plain melody into something rich, expressive and realistic.
2. Melodic Chords
A melody doesn’t have to be a chain of single notes. Adding harmonic intervals can instantly enrich your lead lines – thirds (+3 / +4 semitones), fifths (+7), sixths (+8 / +9) and octaves (+12 / –12).
You can use:
- Dyads (your melodic note + 1 harmonic interval)
- Triads (note + 2 intervals)
- Tetrads (note + 3 intervals)
These supporting intervals can add depth, emotion and musical interest.
3. The repeating root‑key method
This sub‑technique pairs each melodic note with the root of the scale or chord.
For example, in G major, you repeatedly play a low G beneath each melodic note.
This creates:
- A harmonic drone
- A grounded feel
- A richer tonal texture
You can hear this in:
- Irish uilleann pipes
- Scottish bagpipes
- Indian harmonium
- Tarang and other folk instruments
Use melodic chords and root‑note repetition to highlight important moments and add expressive weight.
MIDI expression controls: modwheel, pitchwheel and breath controllers
Expression is one of the biggest differences between a performance that feels played and one that feels programmed.
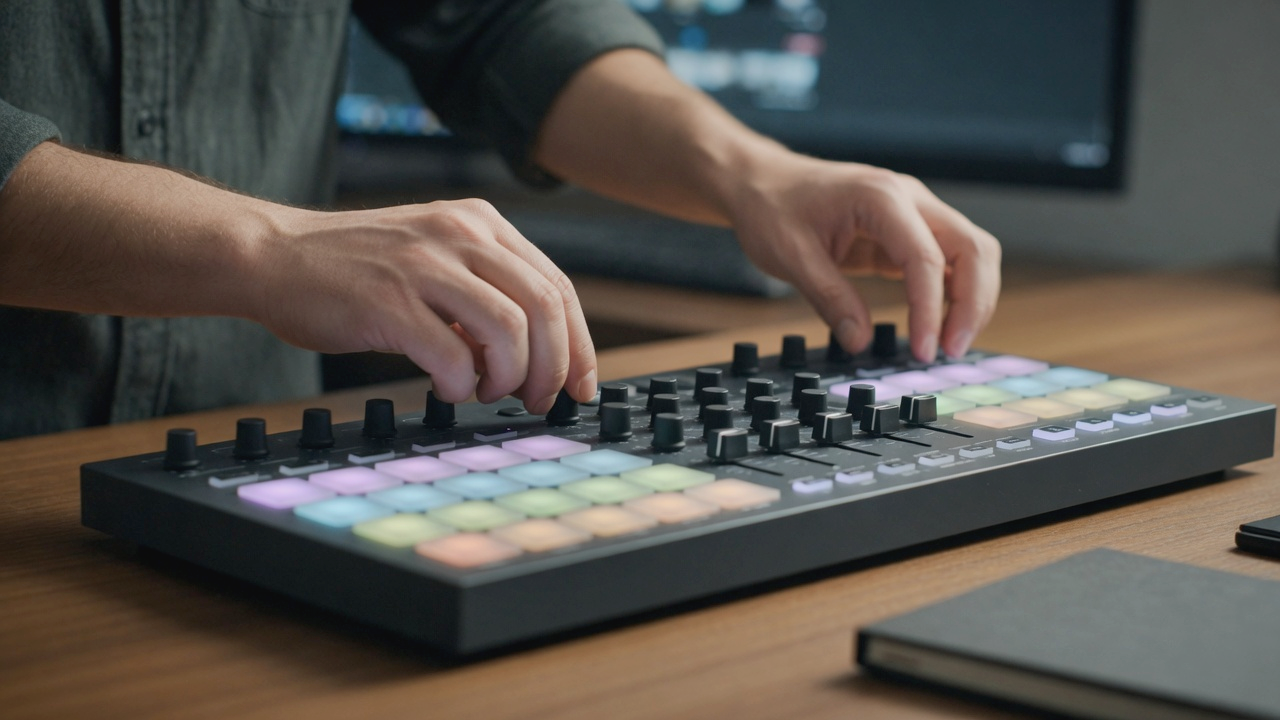
Your MIDI controller already includes the essentials:
- Modwheel (CC1) – dynamics, vibrato, timbre
- Pitchwheel – bends, scoops, natural imperfections
- Expression/Volume (CC11/CC7) – shaping crescendos and decrescendos
Mapping additional faders or knobs to vibrato, filters, bow pressure or breath intensity can take realism even further. And if budget isn’t an issue, investing in a dedicated breath controller or expression pedal can push your performances to an even more expressive, lifelike level.
The subtle power of pitch bend
Real brass and wind players rarely hit a note with robotic precision. There’s always a slight bend into the pitch or a gentle fall‑off.
By nudging the pitchwheel just slightly before or after a note, you can recreate these natural imperfections in the attack and the release:
- Subtle scoops
- Tiny downward bends
- Micro‑instability that mimics real embouchure changes
Used moderately, pitch bends add life, depth and authenticity to your VST performances.
Humanization & drum patterns – the importance of rhythmic variation
One of the biggest giveaways of a fake performance is repetition without variation.
In real life, no acoustic instrument produces the exact same sound twice.
Why real instruments vary
Take a drum:
- Loudness changes
- Pitch shifts
- Timbre varies
These differences happen because of physical properties – material, tension, striking angle and hand position.
Example: the Egyptian darbuka
Tapping near the rim produces a sound that is:
- Less deep
- Less resonant
- Less bass‑heavy
Move toward the center and the tone becomes fuller and more powerful.
This principle applies to:
Humanization in the DAW
To mimic real‑world variation, adjust:
- Velocity
- Timing
- Sample alternation
- Pitch
- Articulation
Many VST plugins and sample libraries include round‑robins, but you can enhance realism manually or with humanizer/randomizer plugins.
Timing: the heart of groove
Real musicians don’t play perfectly on the grid.
They push and pull the rhythm, creating feel and personality.
Humanization isn’t about making things sloppy – it’s about making them human.
Bring Realism Into Your Music
Realistic virtual instrument performances come from understanding how real instruments behave and applying expressive, musical techniques inside your DAW. When you combine:
- Instrument knowledge
- Keyboard legato
- Melodic chords
- Expression controls
- Pitch bends
- Humanization
…your VST performances stop sounding like MIDI and start sounding like music.


